In the world of mechanical engineering, thread repair can often be a daunting task. Damaged or stripped threads can render components unusable, leading to costly downtime and frustration. However, there’s a powerful solution that can save the day: helicoils. Helicoils are threaded inserts that restore damaged threads to their former glory, allowing you to reuse components and avoid costly replacements.

Image: www.tapatalk.com
Traditionally, helicoil insertion requires specialized tools, which can add to the overall cost and complexity of the repair. But what if you don’t have access to these tools? Is it still possible to install helicoils effectively? Absolutely! With a bit of ingenuity and some readily available materials, you can insert helicoils without specialized tools, empowering you to tackle these repairs independently.
Preparing for Helicoil Insertion
Before embarking on the insertion process, it’s crucial to gather the necessary materials. You’ll need the helicoil insert, a tap that matches the helicoil size, a drill bit that is slightly smaller than the tap, and a few essential tools from your toolbox.
- Drill: A standard electric drill will suffice for drilling the pilot hole.
- Tap Handle: This tool will hold and guide the tap during thread cutting.
- Punch or Awl: A sharp punch or awl will create a small indentation in the center of the pilot hole, guiding the helicoil insertion.
- Pliers or Vise Grips: These tools will provide a firm grip on the helicoil during insertion.
Drilling the Pilot Hole
The first step is to drill a pilot hole using the drill bit slightly smaller than the tap size. Mark the center of the damaged threads using a center punch or a sharp object. Carefully drill a straight hole perpendicular to the surface. The depth of the hole should be slightly deeper than the length of the helicoil insert.
Tapping the Threads
With the pilot hole drilled, it’s time to tap the threads using the tap that matches the helicoil size. Insert the tap into the tap handle and carefully thread it into the pilot hole. Apply gentle pressure and turn the tap clockwise until the threads are fully formed. Remove the tap and clean any debris from the tapped hole.
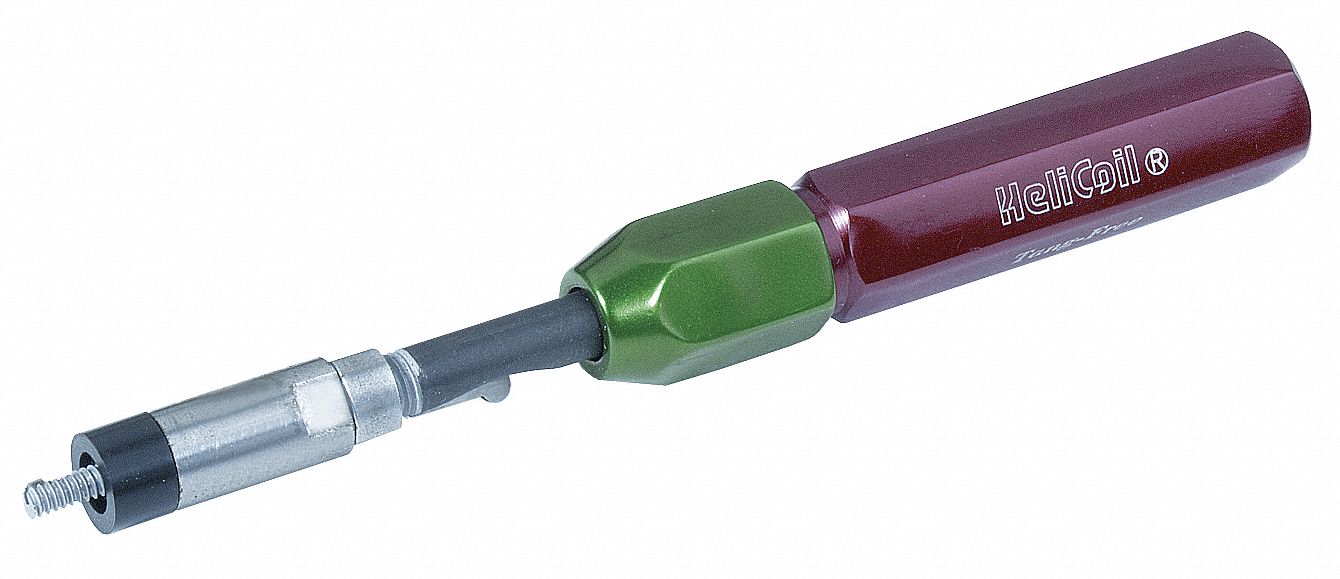
Image: www.grainger.com
Indenting the Center
Using a sharp punch or awl, gently tap the center of the tapped hole. This indentation will provide a starting point for the helicoil insertion.
Inserting the Helicoil
Grasp the helicoil using pliers or vise grips. Carefully align the helicoil with the tapped hole and the indentation you made earlier. Gently push the helicoil into the hole, ensuring it starts straight. Apply firm but gradual pressure, rotating the helicoil slightly as you insert it. Continue pushing until the helicoil is fully seated in the hole.
Double-Checking Your Work
Once the helicoil is inserted, it’s essential to verify that it is properly seated. Insert a bolt that matches the thread size into the helicoil. If the bolt threads in smoothly without any resistance, it indicates a successful insertion. If you encounter any resistance, remove the bolt and re-insert the helicoil, ensuring it is aligned correctly.
Leveraging Helicoils’ Benefits
Helicoils offer a wide range of benefits that make them a valuable tool for thread repair:
- Increased Thread Strength: Helicoils reinforce existing threads, significantly increasing their strength and durability.
- Improved Wear Resistance: Helicoils are made from high-strength materials, providing excellent resistance to wear and tear.
- Corrosion Protection: Stainless steel helicoils resist corrosion, preventing thread degradation in harsh environments.
- Cost-Effective Repair: Helicoils offer a cost-effective alternative to replacing damaged components, saving time and money.
How To Insert Helicoil Without Tool
Conclusion
Inserting helicoils without specialized tools may seem like a daunting task, but with proper preparation and a step-by-step approach, it is entirely possible. By utilizing common tools and following the guidelines outlined in this article, you can effectively restore damaged threads, extending the life of your components, and saving yourself the expense of costly replacements. Remember, the key to success lies in careful preparation, precision in execution, and a keen eye for detail. Embrace the challenge of helicoil insertion and empower yourself to tackle mechanical repairs with confidence.
If you encounter any difficulties or have further questions, don’t hesitate to consult additional resources or seek guidance from experienced professionals. With a bit of perseverance and a commitment to learning, you can master the art of helicoil insertion and become a trusted problem-solver in the world of mechanics.
